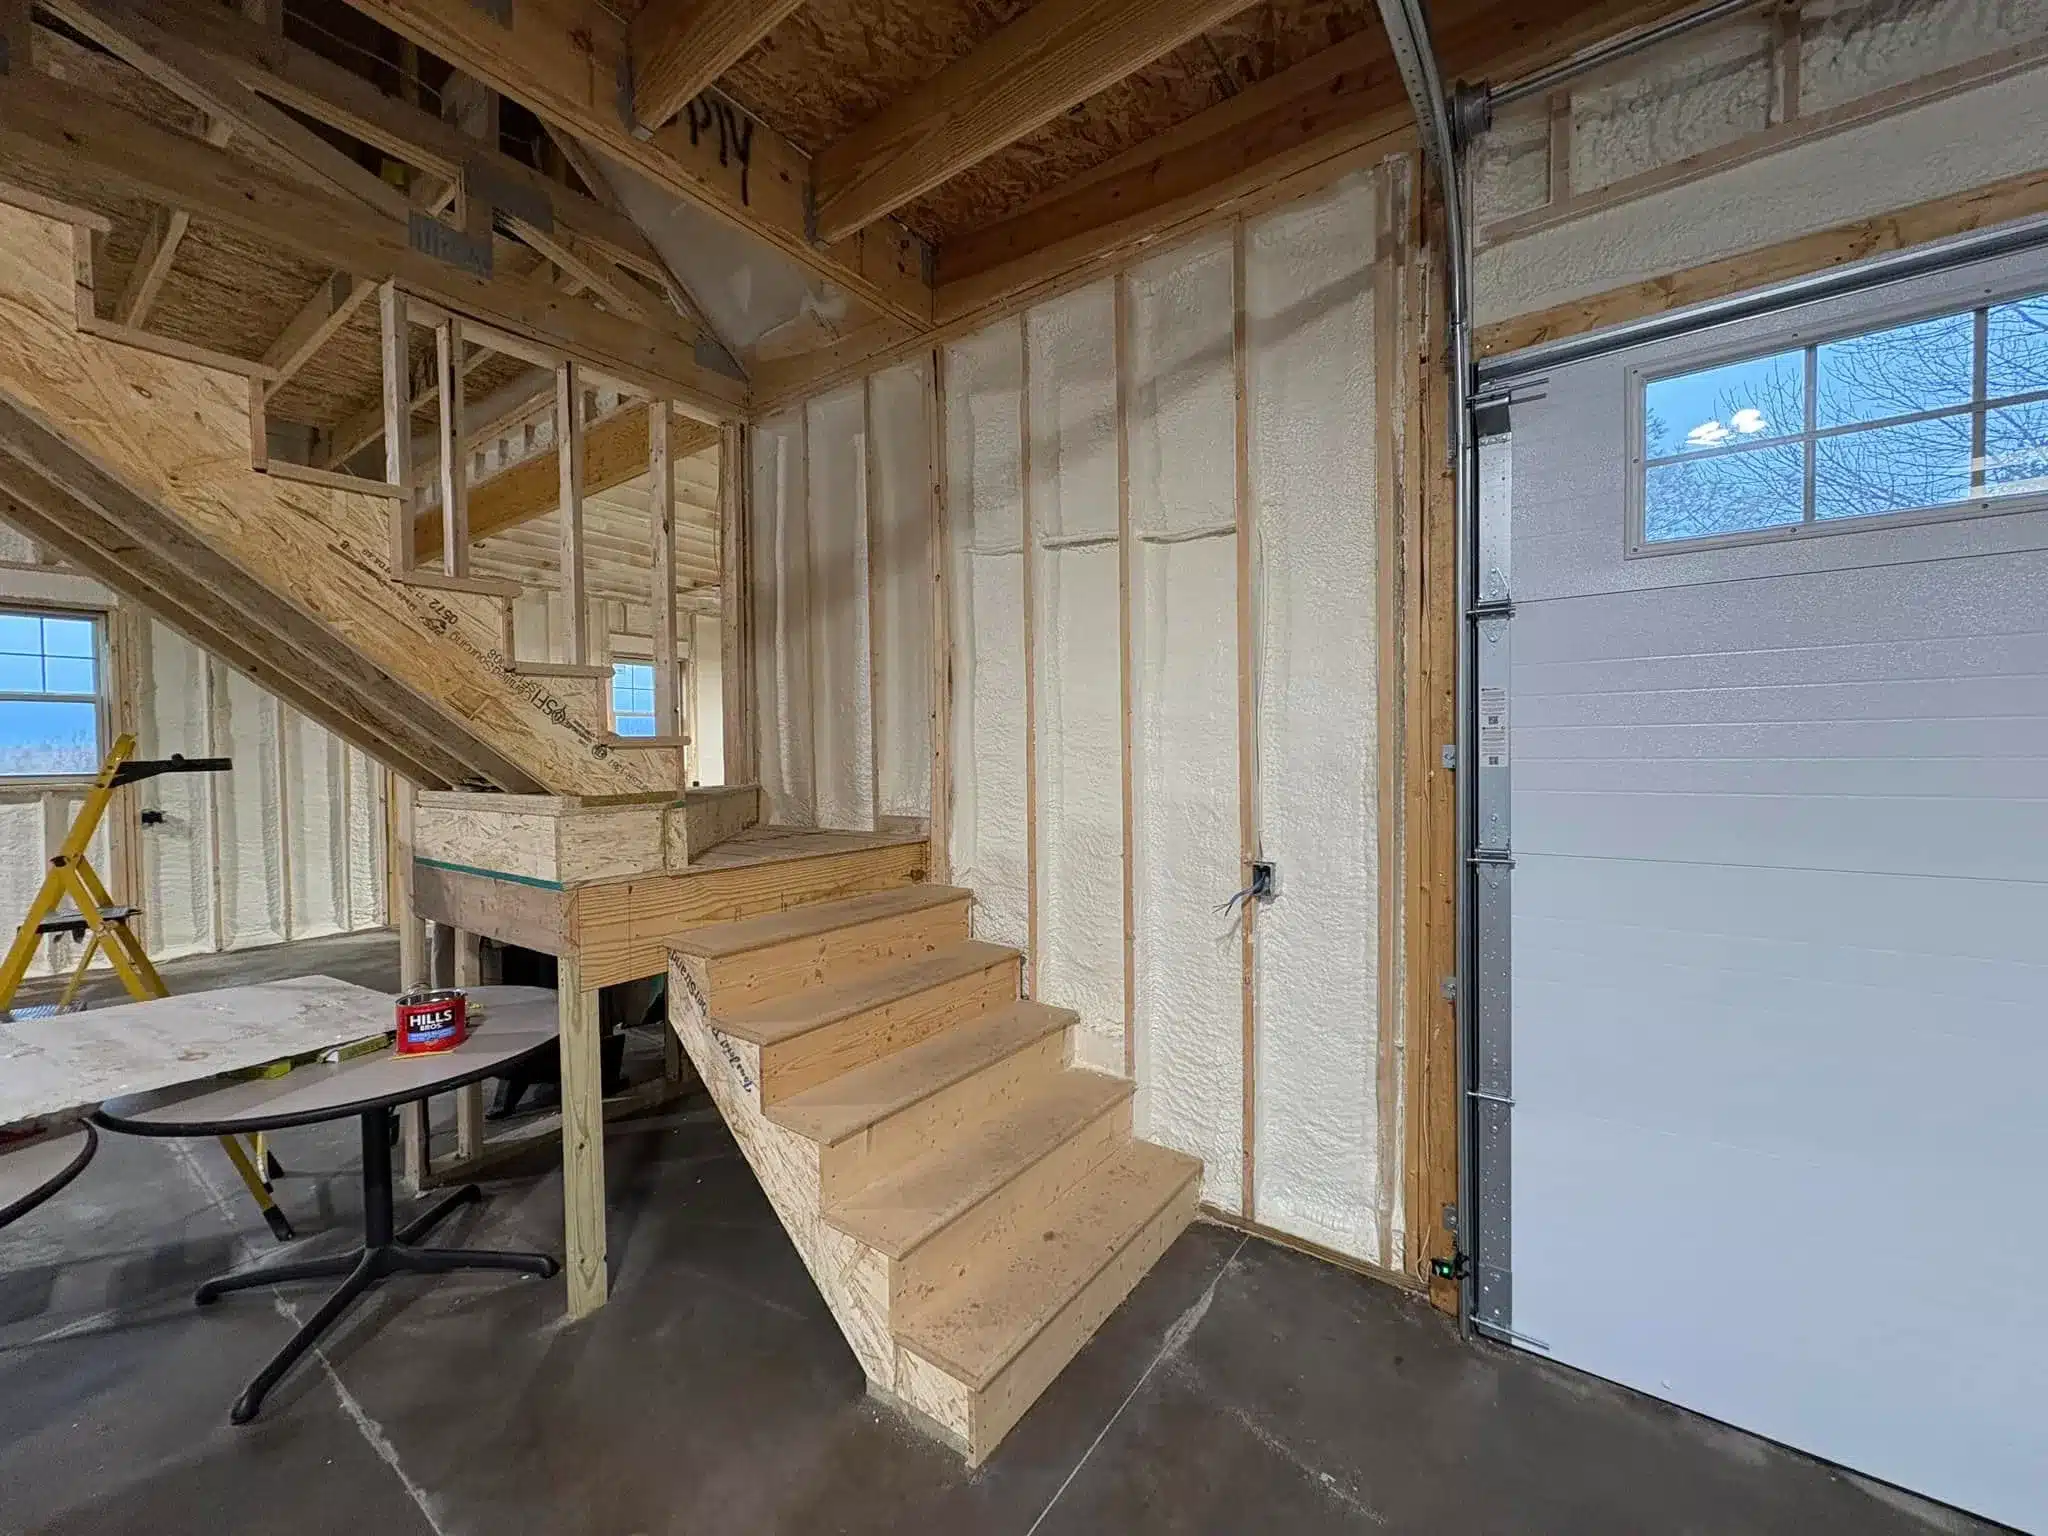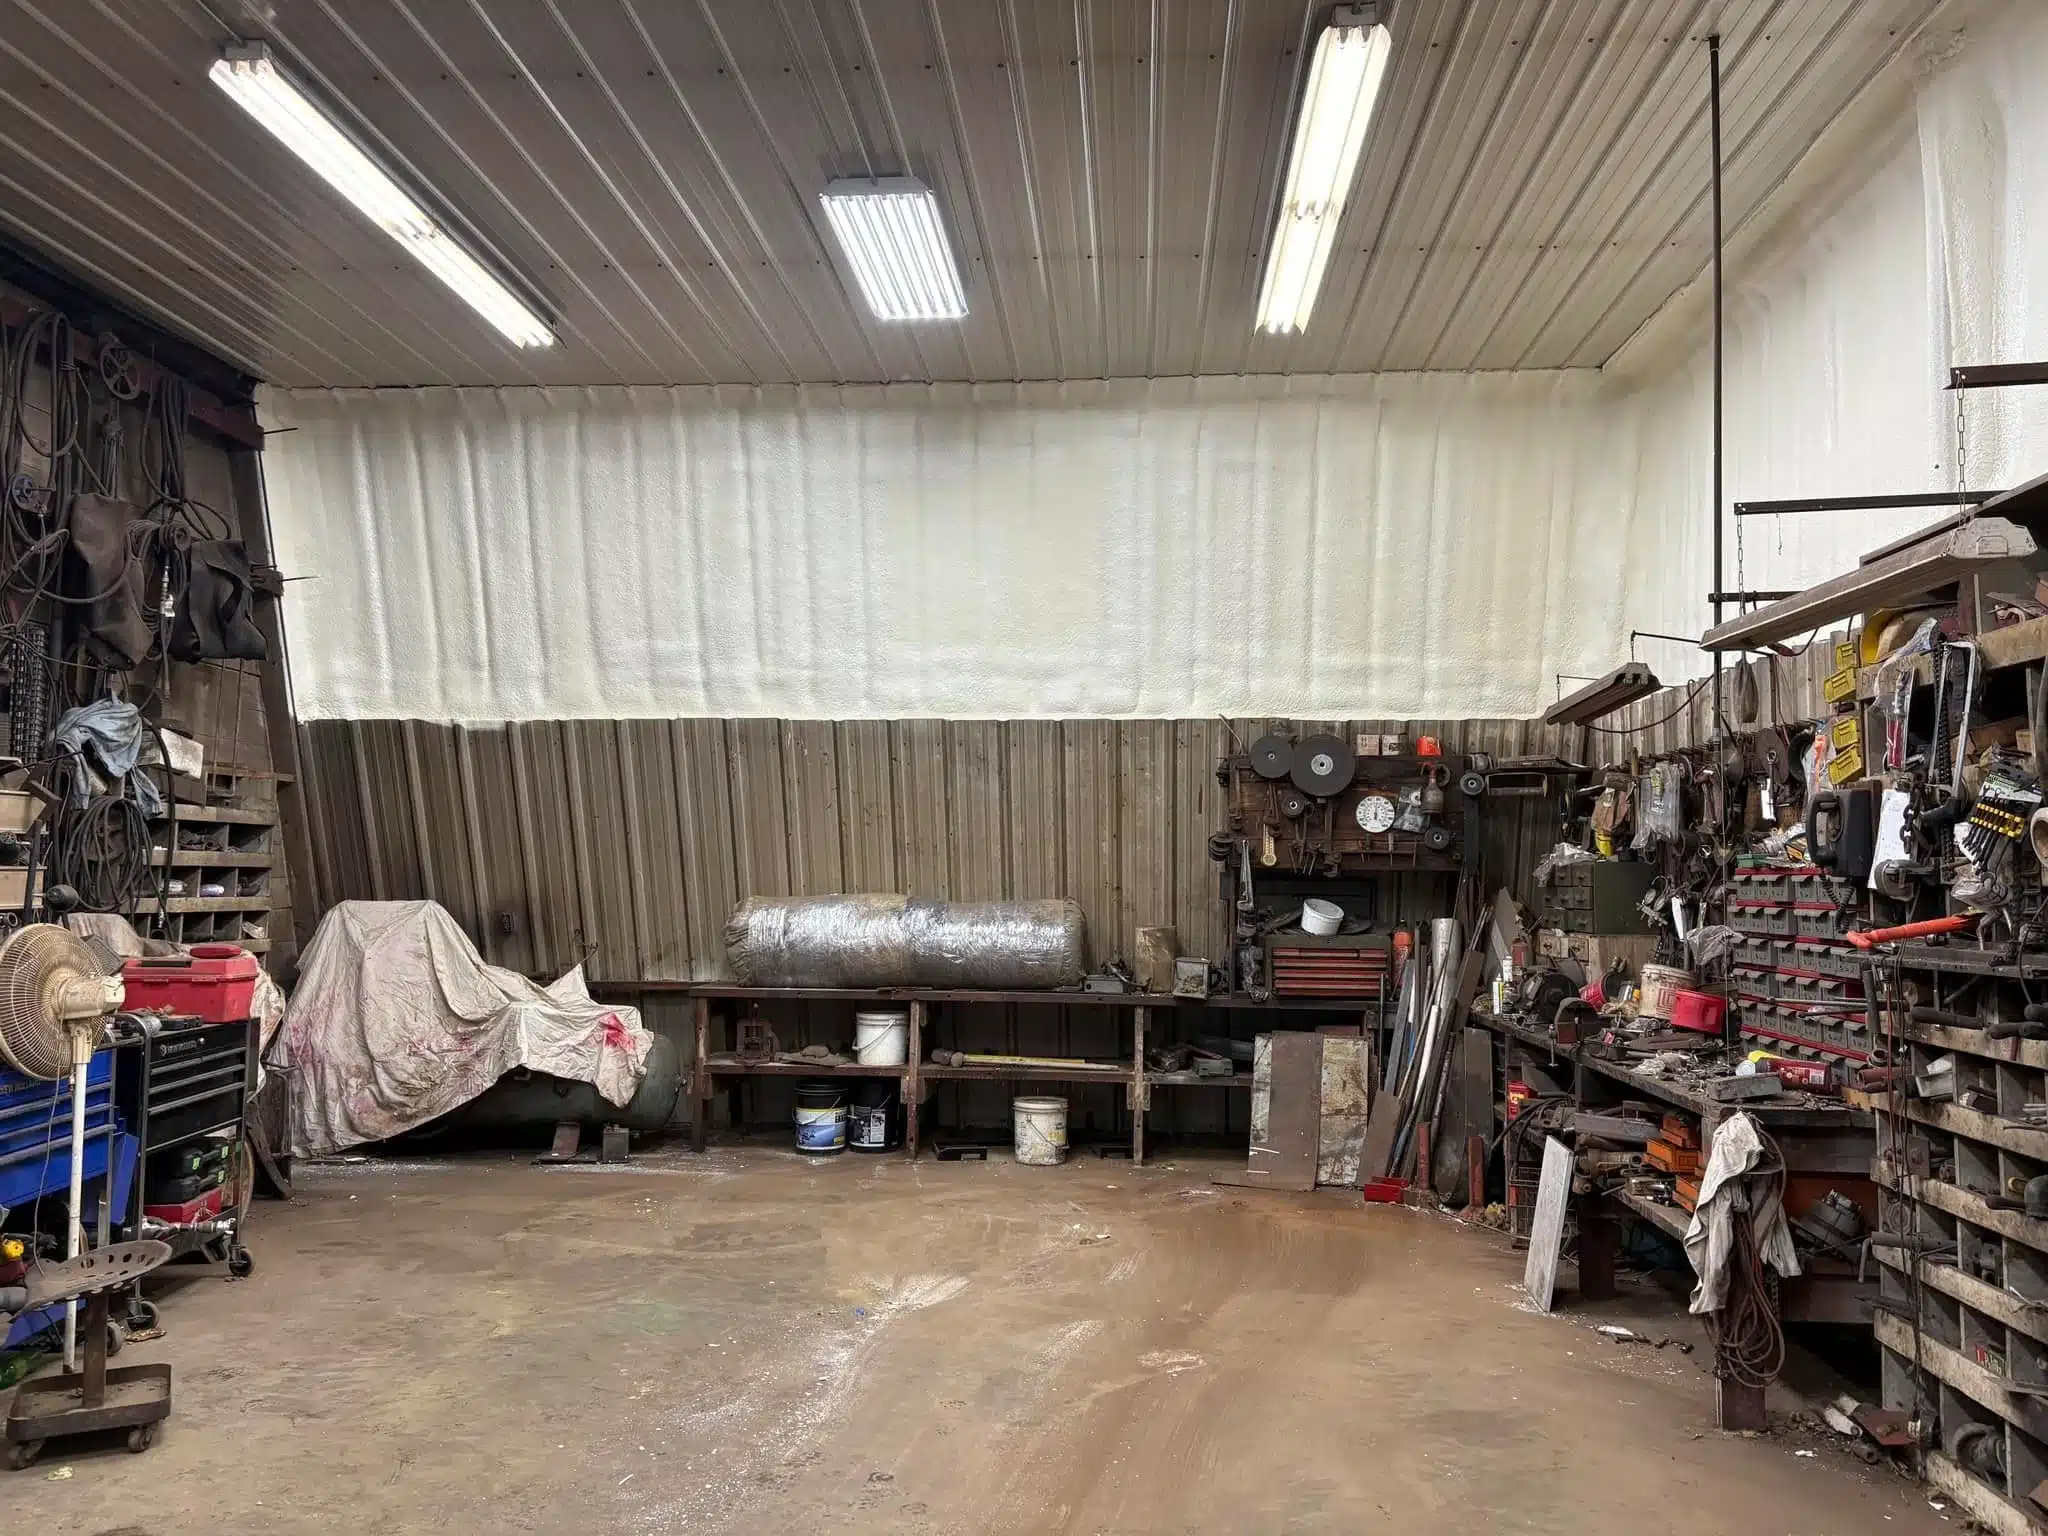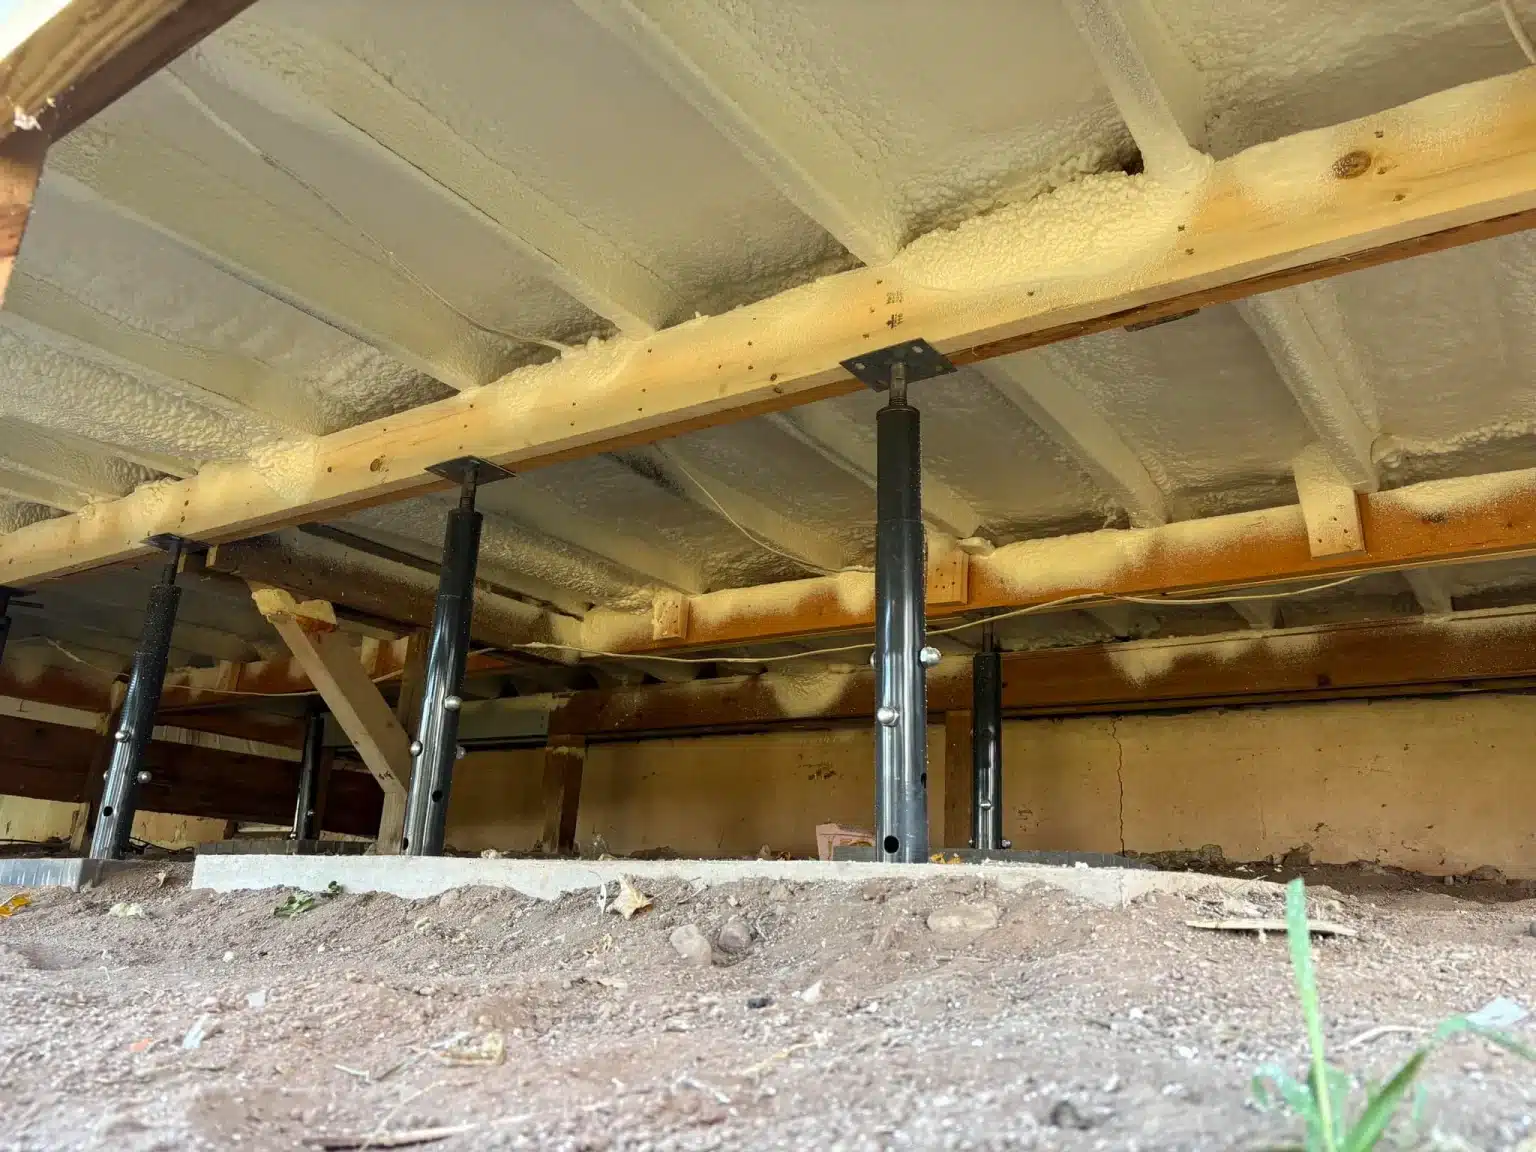
How Can Better Insulation Support Consistent Indoor Temperatures in Ashwaubenon, WI?
Better insulation supports consistent indoor temperatures in Ashwaubenon, WI by slowing heat transfer through your attic, walls, floors, and crawlspaces…

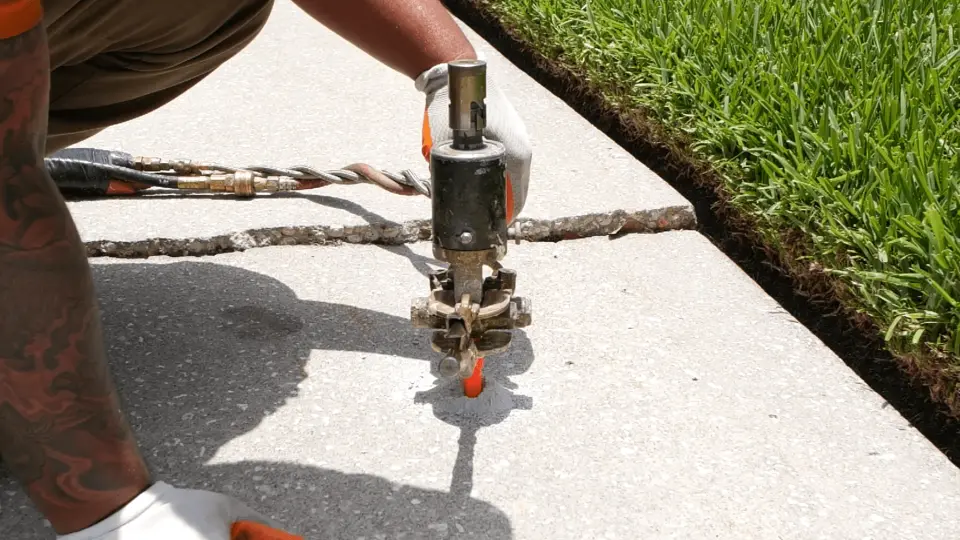
You step out your front door one morning and notice your driveway has a visible dip. The sidewalk leading to your porch slopes toward the foundation, pooling water every time it rains. Your garage floor has cracked and settled, making it tough to park without bottoming out. These are all signs of sunken concrete, and if you own property in Waupaca or anywhere across central Wisconsin, you have likely seen it before.
Concrete lifting is the process of raising settled concrete slabs back to their original position without the cost, mess, and disruption of tearing them out and pouring new ones. Instead of a full demolition, our team drills small access holes, pumps a lifting material beneath the slab, and restores the surface to a level, safe condition, often within a single day.
We have spent years working with spray foam and concrete leveling projects throughout Wisconsin, and this guide brings together everything we have learned into one place. Whether you are a homeowner dealing with a sinking patio, a property manager addressing trip hazards, or someone who simply wants to understand the options before calling a professional, this resource covers it all.
Concrete lifting, also called slabjacking, concrete leveling, or mudjacking (when referring to a specific method), is a repair technique that raises uneven or settled concrete back to its original position by altering the foundation that supports it. Rather than removing and replacing the damaged slab, technicians inject material beneath it to fill voids and hydraulically lift the concrete into place.
According to Wikipedia’s article on concrete leveling, this approach dates back to the early 20th century, when contractors first used hydraulic pressure and locally available soil mixtures to raise large slabs. The technique has since evolved to include modern polyurethane foams and precision equipment, but the core idea remains the same: lift and stabilize without replacing.
The reason concrete lifting matters comes down to three practical realities.
Safety first. Uneven concrete creates trip hazards that can lead to serious injuries. The U.S. Access Board defines a trip hazard under ADA standards as any vertical change exceeding ¼ inch on an accessible route. That is a surprisingly small threshold. A slab that has settled just a fraction of an inch can create a legal liability and a real danger for anyone walking across it, especially those with mobility challenges.
Cost efficiency. Lifting a slab typically costs a fraction of what full replacement would run. The concrete stays in place, there is no demolition waste to haul away, and the surrounding landscaping does not need to be disturbed.
Speed and minimal disruption. Most concrete lifting projects are completed within hours, and the repaired surface is usable almost immediately. Compare that to a full tear-out and pour, which can take days or even weeks, involve heavy equipment tearing up your yard, and require lengthy curing time before you can walk or drive on the new surface.
TL;DR
Before getting into how concrete lifting works, it helps to understand why slabs sink in the first place. If you do not address the underlying cause, even a perfectly executed lift can re-settle over time.
The most common cause of concrete settlement is inconsistent moisture in the soil beneath the slab. Soil expands when wet and contracts when dry. During wet seasons, the ground swells. During dry spells, it shrinks. Over years and decades, this repeated expansion and contraction creates gaps beneath the concrete. The slab, which was originally supported evenly across its entire base, gradually loses support in spots and begins to tilt or sink.
When a home or building is constructed, contractors excavate for foundations, basements, and utility lines, then backfill the soil around the structure. If that backfill is not compacted properly, it will naturally settle over time under the weight of the concrete slabs poured on top of it. This is especially common around basement walls, where the backfill along the exterior foundation is notoriously difficult to compact evenly. As the backfill consolidates, any concrete laid over it, like a porch, patio, or sidewalk, sinks along with the soil.
Water is the enemy of stable soil beneath concrete. Poor drainage, leaky gutters, plumbing leaks, or improper grading can direct water under or alongside a slab, washing away the soil that supports it. Over time, the eroded soil creates voids, and the concrete settles into those empty spaces. Wikipedia’s article on concrete leveling specifically notes that soil erosion from improper drainage is one of the most common contributors to settlement, particularly for locations where water is allowed to pool or flow beneath slabs.
Certain types of soil, particularly clay-rich soils, are known as expansive soils. They swell dramatically when they absorb water and shrink just as dramatically when they dry out. In regions of the United States where these soils are common, including areas in the central and southern parts of the country, concrete settlement is a widespread problem. Even here in Wisconsin, soil composition varies significantly from one property to the next, and expansive soils can be a factor depending on your exact location and soil profile.
Tree roots growing beneath or alongside a concrete slab can push upward, lifting sections of the concrete and creating uneven surfaces. While lifting caused by tree roots is different from sinking caused by soil settlement, the result is the same: an uneven, potentially dangerous surface. In some cases, roots can also tunnel beneath a slab and disrupt the soil structure, contributing to void formation and subsequent sinking.
Expert Tip: Before any concrete lifting project, we always evaluate the drainage patterns around the problem area. Fixing a gutter that dumps water next to your sidewalk or re-grading soil that directs runoff under your driveway can prevent the problem from recurring after the lift is complete.
While less common in Wisconsin, seismic activity can shift the ground beneath concrete slabs, causing settlement, cracking, and uneven surfaces. In earthquake-prone regions of the United States, this is a well-documented contributor to concrete damage.
Not all concrete lifting is the same. There are three primary methods used today, each with its own materials, equipment, and best-use scenarios. Understanding the differences helps you make an informed decision about which approach fits your needs.
Polyurethane foam leveling, sometimes called polyjacking or foam injection, uses a two-part polymer that is injected beneath the slab through holes less than one inch in diameter. When the two parts mix, a chemical reaction produces expanding foam that fills voids and lifts the concrete.
The foam does not lift the slab through injection pressure alone. According to Wikipedia, the actual lifting action comes from the expansion of air bubbles within the reacting material. The foam follows the path of least resistance, expanding into weak soils, consolidating them, and filling any empty spaces beneath the slab. Closed-cell formulations cure within as little as 30 minutes, do not retain moisture, and are not susceptible to erosion once in place.
Some structural polymer foams used in concrete leveling have compressive strengths between 7,200 and 14,000 pounds per square foot, which meets the requirements for supporting highway slabs.
Benefits of polyurethane foam leveling:
Limitations of polyurethane foam leveling:
Mudjacking is the original concrete lifting method and still widely used today. It involves pumping a slurry mixture beneath the slab to hydraulically lift it. The mixture typically consists of local soil or sand blended with water and Portland cement. Additional additives like clay, fly ash, pea gravel, or crushed limestone may be included to improve pumpability, strength, or curing times.
This process requires holes between 1 and 2 inches in diameter. The slurry is pumped using a movable cart or trailer-mounted pump, and once voids are filled, hydraulic pressure builds beneath the slab and raises it back into position.
Benefits of mudjacking:
Limitations of mudjacking:
Stone slurry grout leveling uses a mixture of pulverized limestone (agricultural lime) and water, sometimes with added Portland cement, to create a semi-fluid slurry. The slurry is pumped through 1-inch holes and, because of its low pressure and fluid consistency, pushes against itself to fill voids before gently lifting the slab.
Once cured, limestone grout with Portland cement can reach compressive strengths exceeding 6,000 psi, creating a near-solid stone foundation beneath the leveled concrete. Without sufficient cement content, however, the limestone material can be vulnerable to erosion from rainwater over time.
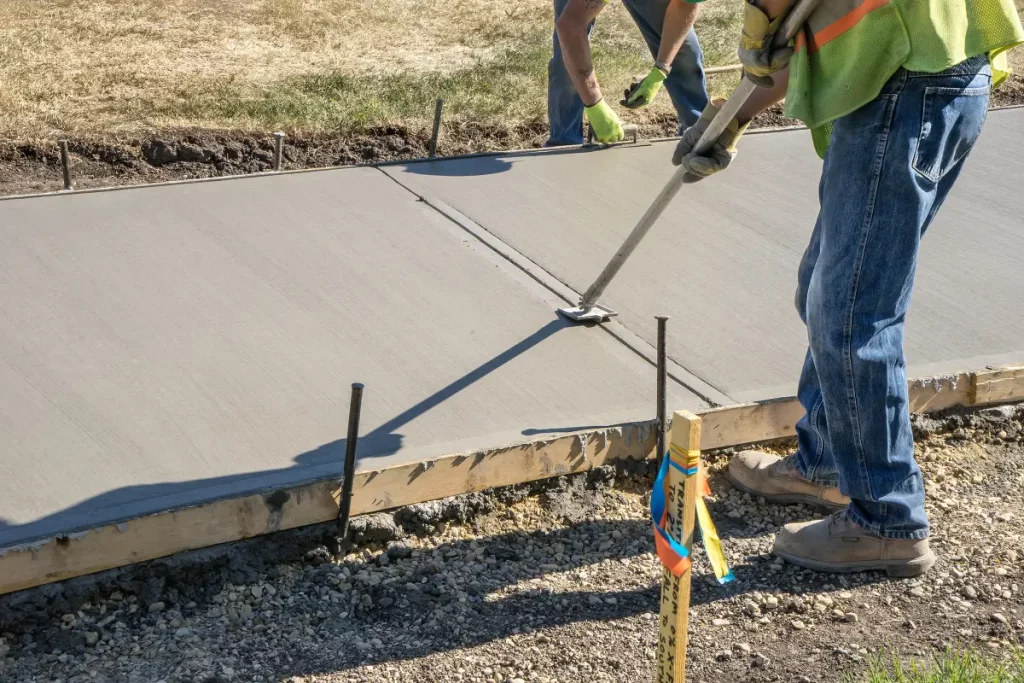
Benefits of stone slurry grout leveling:
Limitations of stone slurry grout leveling:
| Feature | Polyurethane Foam | Mudjacking | Stone Slurry Grout |
|---|---|---|---|
| Hole Size | Less than 1 inch | 1 to 2 inches | About 1 inch |
| Cure Time | 15 to 30 minutes | 24 to 48 hours | 24 to 72 hours |
| Water Resistance | Waterproof (closed-cell) | Moderately resistant | Vulnerable without cement |
| Lifting Control | Moderate | High | High |
| Compressive Strength | 50 to 100 psi | Varies by mix | Up to 6,000+ psi |
| Cleanup | Minimal | Significant | Significant |
| Equipment Reach | Long (mobile units) | Long (mobile carts) | Limited (~100 ft from truck) |
| Best For | Precise void filling, water-prone areas | General leveling, budget-conscious projects | Heavy slabs needing strong support |
TL;DR
Expert Tip: In our experience working with polyurethane spray foam insulation and lifting applications, foam leveling is often the best choice for residential projects where water management is a concern. The closed-cell structure means the injected material will not wash away if water finds its way beneath the slab in the future.
Understanding what happens during a concrete lifting project helps you know what to expect, plan around the timeline, and feel confident in the work being done. Here is a detailed walkthrough of each stage.
Every concrete lifting project begins with a thorough inspection. Our team visits the property, examines the affected slabs, and evaluates the surrounding conditions. During this stage, we look at several factors:
We also take measurements to determine how much lift is needed and whether the slab is a good candidate for lifting. If the concrete is severely cracked, crumbling, or structurally compromised, replacement may be the more appropriate solution.
Based on the inspection, we develop a repair plan that includes the lifting method, material type, injection points, and estimated timeline. We mark the locations where access holes will be drilled, strategically positioned to maximize lift efficiency and minimize the number of holes.
Preparation may also involve protecting surrounding areas. If you have landscaping, pavers, or other surfaces near the work zone, we take steps to shield them from drilling dust and any material overflow.
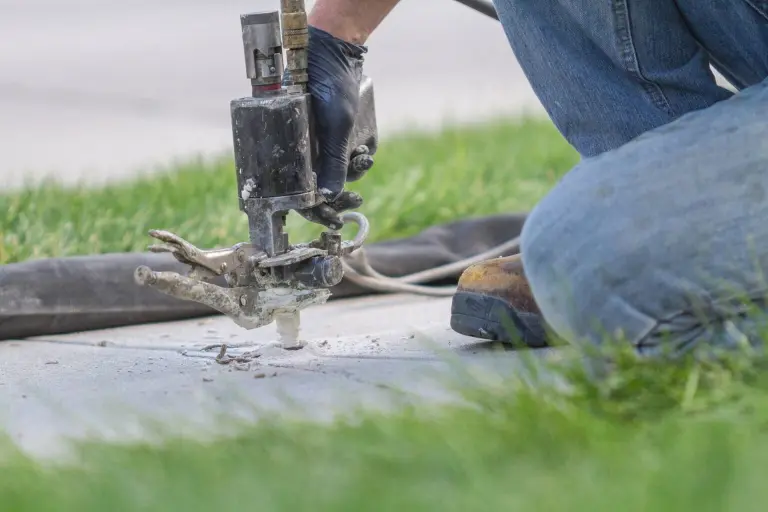
The next step is drilling small holes through the concrete slab at the marked injection points. The hole size depends on the method being used. Polyurethane foam requires the smallest holes, typically about 5/8 inch in diameter. Mudjacking requires the largest, between 1 and 2 inches. Stone slurry grout falls in between, using roughly 1-inch holes.
These holes are strategically placed based on the slab geometry, the pattern of settlement, and the lifting plan. The goal is to position them so the injected material flows evenly beneath the slab, filling voids and distributing lifting force uniformly.
This is the core of the process. Through the drilled holes, we pump the selected lifting material beneath the slab. The process works differently depending on the method:
Polyurethane foam: The two-part polymer is injected through specialized equipment. As the material reacts beneath the slab, it expands rapidly, filling voids, consolidating weak soil, and lifting the concrete. Our technicians monitor the lift carefully, controlling the injection rate and volume to achieve precise positioning. The entire reaction and lift happens within minutes.
Mudjacking: The slurry mixture is pumped at low pressure through the access holes. It first fills any existing voids beneath the slab. Once the void space is filled, pressure builds, and the slab begins to rise. The lift is gradual and controlled, allowing technicians to check progress frequently.
Stone slurry grout: Similar to mudjacking, the limestone slurry is pumped at low pressure. Its semi-fluid consistency allows it to flow and fill voids before building enough pressure to lift the slab. The low-pressure nature of this method gives technicians excellent control over the lift rate and reduces the risk of over-lifting or cracking.
During the injection phase, we continuously monitor the slab’s position using laser levels or string lines to ensure accuracy. The goal is to lift the slab back to its original grade, matching adjacent surfaces and restoring proper drainage.
Once the slab has been lifted to the correct position, we patch the access holes with a color-matched, non-shrink grout that blends with the surrounding concrete. The patched areas are finished as smoothly as possible to minimize their visibility.
Cleanup varies by method. Polyurethane foam requires the least amount of cleanup because the material is contained beneath the slab and the holes are small. Slurry-based methods may leave some overflow material around the injection points that needs to be cleaned and removed.
After the lift is complete and the patches are in place, we do a final walkthrough to verify that the slab is level, the drainage is correct, and the repair meets our quality standards. We also discuss any maintenance recommendations or drainage improvements that could help protect the repair long term.
Expert Tip: After any concrete lifting project, pay attention to how water flows across the repaired surface during the next few rainstorms. Proper drainage away from your foundation is one of the most important factors in preventing future settlement. If you notice water pooling or running toward the lifted area, address the drainage issue promptly.
The equipment required for concrete lifting varies depending on the method being used, but there are several common categories of tools that every project involves.
A rotary hammer drill or core drill is used to create the access holes in the concrete. The bit size matches the method being used, ranging from 5/8 inch for foam injection up to 2 inches for mudjacking.
For polyurethane foam: Specialized injection guns and pumps deliver the two-part polymer through hoses to the injection ports. The equipment maintains precise temperature and pressure control, since the reaction is sensitive to both factors.
For mudjacking: A trailer-mounted or cart-mounted pump forces the slurry mixture through hoses to the access holes. The pump must generate enough pressure to push the thick slurry beneath the slab and overcome friction in the delivery hoses.
For stone slurry grout: A truck-based pumping system delivers the limestone slurry through hoses. Because the slurry has a thinner consistency than mudjacking mix, the pumping requirements are different, and the equipment must be positioned within about 100 feet of the work area.
Laser levels, string lines, and digital measuring tools are used throughout the injection process to monitor the slab’s position in real time. These tools allow technicians to verify that the lift is progressing evenly and that the slab reaches the intended grade.
Concrete lifting involves dust, rotating machinery, pressurized materials, and heavy slabs. Personal protective equipment including safety glasses, hearing protection, gloves, and steel-toed boots is standard on every job site.
Concrete lifting is an effective fix for many common problems, but it is not the answer for every situation. Here are the scenarios where lifting is typically the best approach.
Any vertical change of more than ¼ inch on a walking surface creates a potential trip hazard. Under ADA standards, as documented by the U.S. Access Board, vertical changes up to ¼ inch are permitted without treatment, changes between ¼ and ½ inch require a beveled transition with a slope no steeper than 1:2, and changes above ½ inch must be treated with a ramp or curb ramp. Concrete lifting can address these issues by leveling the slab and eliminating the vertical change entirely.
Garage floors that have settled can create problems for vehicle parking and storage. Basement floors that have sunk can lead to water intrusion, as the floor may no longer slope properly toward the drain. Lifting can restore the correct slope and functionality.
Pool decks that have settled can create both trip hazards and drainage problems. Water that pools on a sunken section of deck can cause staining, accelerate deterioration, and create a slipping hazard. Lifting restores the proper slope for drainage and eliminates uneven surfaces around the pool.
Settled driveways can cause water to pool against the foundation or garage, leading to moisture problems. Porch slabs that have tilted away from the house can direct rainwater toward the entry point. Lifting corrects these drainage issues and restores a safe, even surface.
Steps that have settled unevenly create one of the most dangerous trip hazards around a home. When one step is slightly higher or lower than the rest, it is very easy to misjudge the height, especially when carrying items or in low light. Lifting can re-level individual steps to create uniform rise heights.
Even if a slab has not visibly settled yet, voids beneath it represent a ticking clock. The concrete is essentially bridging empty space, and it is only a matter of time before it cracks or drops. Lifting can fill those voids and provide support before visible settlement occurs.
Expert Tip: If you have noticed small cracks appearing in your concrete, especially hairline cracks that seem to follow a pattern, it may be an early sign of settlement beginning beneath the slab. Addressing the problem early, before the settlement becomes visible, is almost always less expensive and less complicated.
Lifting is not the right choice for every concrete problem. Here are the situations where replacement or another approach is more appropriate.
If the concrete is heavily cracked, spalling (flaking at the surface), crumbling, or otherwise structurally compromised, lifting may cause further damage. The slab needs to be in reasonably sound condition to withstand the pressures involved in the lifting process. If the concrete is too far gone, replacement is the only realistic option.
If you want to change the size, shape, or layout of a concrete surface, lifting will not help. Lifting restores the existing slab to its original position. It cannot expand a too-narrow driveway, add a curve to a straight sidewalk, or convert a porch into a patio.
When tree roots have pushed a slab upward rather than the slab sinking downward, the situation is different. Grinding down the high side or removing the root and then leveling may be necessary, but this is a more complex scenario that requires careful evaluation.
If the settlement is related to a significant structural foundation problem, like a failing foundation wall or major footing failure, cosmetic concrete lifting will not address the root cause. In these cases, foundation repair should be the priority.
For property owners, managers, and businesses, understanding ADA compliance as it relates to concrete surfaces is important. The U.S. Access Board’s Guide to the ADA Accessibility Standards establishes clear requirements for accessible routes, including sidewalks, walkways, and other pedestrian surfaces.
The standards specify that changes in level on accessible routes can be up to ¼ inch without any treatment. Changes between ¼ inch and ½ inch must have a beveled edge with a slope no steeper than 1:2. Anything above ½ inch requires a ramp or curb ramp.
For businesses and public properties, failing to address trip hazards can result in liability. Concrete lifting provides a direct solution by leveling the surface and eliminating the vertical change that creates the hazard.
Beyond trip hazards, the ADA standards also require that accessible surfaces be firm, stable, and slip resistant. Concrete that has sunk or shifted may no longer meet these requirements, particularly if pooling water or cracking has made the surface unstable.
Expert Tip: If you own or manage a commercial property, conduct a regular walk-through of all pedestrian surfaces at least twice a year, ideally in spring and fall. Look for any changes in level between adjacent slabs, new cracks, or areas where water is pooling. Catching these issues early makes the repair simpler and less expensive.
Once your concrete has been lifted and leveled, the work is not entirely done. Proper maintenance helps ensure the repair lasts as long as possible and prevents the slab from settling again.
Water is the number one enemy of stable soil beneath concrete. Make sure your gutters direct water well away from concrete slabs. Fix any leaking outdoor plumbing, sprinkler lines, or downspout extensions promptly. Ensure the grading around your property slopes away from foundations and concrete surfaces rather than toward them.
After leveling, any existing cracks in the concrete should be sealed with an appropriate concrete caulk or sealant. This prevents water from seeping through the cracks and washing away soil or the lifting material beneath the slab.
Periodically check your leveled concrete for any signs of re-settlement. Look for new gaps between slabs, changes in how water drains across the surface, or doors that suddenly start sticking (which can indicate foundation movement).
While properly leveled concrete can handle normal loads, avoid placing excessive concentrated weight on repaired areas, especially in the first few weeks after the lift while the material beneath the slab is still fully curing.
One of the most common questions we hear is about how long a concrete lifting project takes and how much it will disrupt daily life. Here is a general idea of what to expect.
Most residential concrete lifting projects are completed in a single day. A typical sidewalk or driveway section might take just a few hours from start to finish. Larger projects, like a full driveway or multiple connected slabs, may take one to three days depending on the scope.
Disruption is minimal compared to replacement. There is no heavy demolition, no jackhammers breaking up concrete, and no trucks hauling away debris. You may hear the drill and pump during the work, but the process is relatively quiet and contained.
After the lift is complete, the surface is usable almost immediately with polyurethane foam methods (since cure time is as little as 15 to 30 minutes). Slurry-based methods require a longer curing period, typically 24 to 72 hours, before the surface should see heavy foot or vehicle traffic.
The results are visible right away. The sunken slab is back at its proper level, trip hazards are eliminated, and drainage is restored. With proper maintenance and attention to underlying drainage issues, a well-executed concrete lift can last for decades.
There is an important environmental dimension to concrete lifting that is worth understanding. According to Wikipedia, slabjacking has minimal environmental impact compared to slab replacement because it keeps concrete waste out of landfills. No demolition debris needs to be transported, processed, or disposed of. The original slab stays in place.
However, the lifting materials themselves have different environmental profiles:
The polymer foam science behind polyurethane leveling is well-documented in academic research. A study published through MIT OpenCourseWare’s Polymer Physics course explains that closed-cell polyurethane foams are created by reacting polyisocyanates with polyols in the presence of a catalyst and a blowing agent, producing CO2 gas that causes the foam to expand. The resulting closed-cell structure is moisture-resistant and dimensionally stable, which is what makes it effective for concrete lifting applications.
For environmentally conscious property owners, the choice between methods may come down to weighing the long-term durability and water resistance of foam against the natural material profile of slurry-based methods.
Concrete lifting continues to evolve. Equipment is becoming more precise, materials are being engineered for better performance, and techniques are being refined for more challenging applications.
One area of development is in material formulations. Newer polyurethane formulations are being designed with lower environmental impact, including reduced global warming potential in the blowing agents used during manufacturing. Researchers are also exploring bio-based polyols derived from plant oils as alternatives to petroleum-based raw materials.
Another trend is the integration of technology into the lifting process. Some contractors now use laser-guided monitoring systems that provide real-time, highly precise measurements during injection, reducing the risk of over-lifting or uneven results. Ground-penetrating radar is also being used to map voids and soil conditions beneath slabs before lifting begins, allowing for more informed repair planning.
Concrete sinking is a problem that does not fix itself. Left unaddressed, settlement gets worse over time. Slabs crack, drainage problems compound, trip hazards grow more dangerous, and what could have been a straightforward lifting job eventually becomes a full replacement project at a much higher cost.
The good news is that concrete lifting gives you a practical, efficient path to restoring your surfaces without the disruption of demolition. By understanding the causes of settlement, the different lifting methods available, and what to expect during the process, you are now equipped to make informed decisions about your property.
Start by assessing your concrete surfaces for signs of settlement. Check for uneven slabs, pooling water, new cracks, and gaps between sections. Pay attention to how doors and windows operate, since settlement can affect more than just the concrete itself. If you spot problems, the sooner you address them, the better the outcome.
Use this guide as your reference as you evaluate your options and plan your next steps. Whether you are dealing with a single settling sidewalk panel or widespread settlement across multiple surfaces, the principles covered here apply.
If you are dealing with sunken or uneven concrete and want to understand your options, we are here to help. Proseal Spray Foam has years of experience working on concrete lifting and insulation projects throughout the Waupaca area. Our team can evaluate your concrete, identify the underlying cause of settlement, and recommend the right approach for your specific situation. Reach out to us at [email protected] or call (715) 227-6295 to schedule a consultation.
With proper maintenance and stable underlying soil, a professionally executed concrete lift can last 20 to 50 years or more. The lifespan depends heavily on whether the underlying soil conditions have been addressed, especially drainage issues that caused the original settlement.
The access holes are patched with color-matched, non-shrink grout that blends with the surrounding concrete. While the patches may be slightly visible on close inspection, they are much less noticeable than the uneven surface they are repairing.
Polyurethane foam lifting can generally be performed in colder temperatures because the chemical reaction generates its own heat. Slurry-based methods are more temperature-sensitive because water in the mixture can freeze, and curing times extend significantly in cold conditions.
The process is relatively quiet compared to concrete demolition and replacement. The drilling step generates some noise, and the pump produces a steady hum, but neither is typically loud enough to disturb neighbors. There is no jackhammering, no heavy demolition, and no debris hauling.
Properly lifted concrete regains its full structural capacity. Polyurethane foam used in lifting applications can support 7,200 to 14,000 pounds per square foot. Stone slurry grout with Portland cement can exceed 6,000 psi in compressive strength. Your repaired surface will handle normal residential or commercial loads without issue.
Most sound concrete slabs can be lifted, including sidewalks, driveways, patios, pool decks, garage floors, porches, steps, and interior slabs. The concrete needs to be in reasonably good structural condition. Slabs that are severely cracked, crumbling, or deteriorated may not be suitable candidates.